| ||||||||||||||||||||||||||||||||||||||||


| June 2009 update - Lots of progress has been made since I had time to update the site last A sharp eye will spot some non-original hardware holding things together while the original stuff is being restored, but for the most part what looks completed, is completed. |
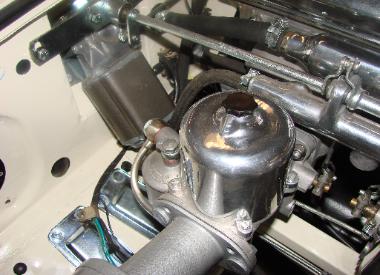
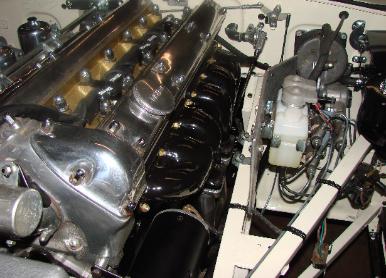
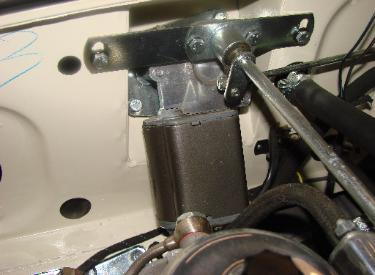
| I was lucky to have all the correct, original little tags and clamps for the carbs. Note that Jeff even disassembled and restored the original wiper motor as it had a 1964 date code. |
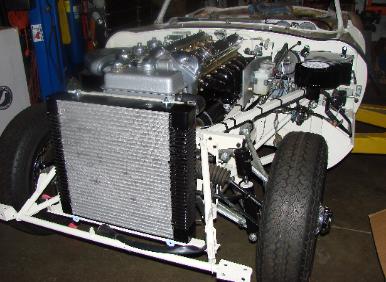
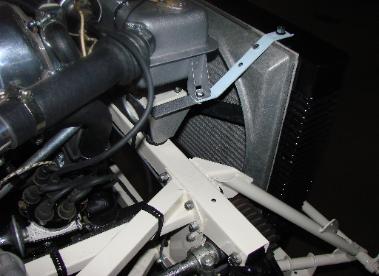
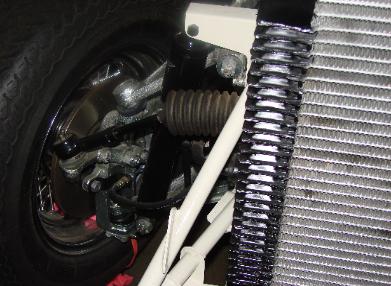
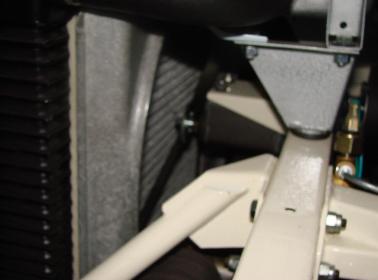
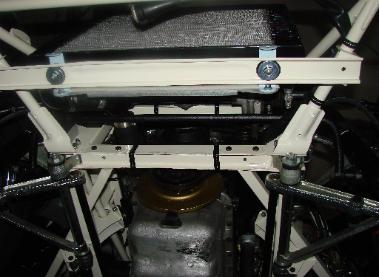
| Most all the gray in the engine compartment was hammertone. However the header tank to radiator brackets were a different color and had enough paint left to do a custom match. This different shade looks more green-grey than the blue grey my monitor displays in the photos. |
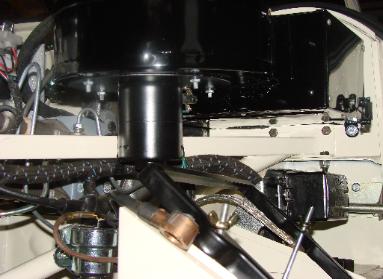
| The fiberglass shroud behind the radiator is the original one. A lot of time was spent cleaning and restoring it. It was not painted, but rather carefully cleaned and touched up. The fiberglass texture is kind of neat as is the light metallic look of the material. |


| XKE page 2 click here for XKE page 3 |
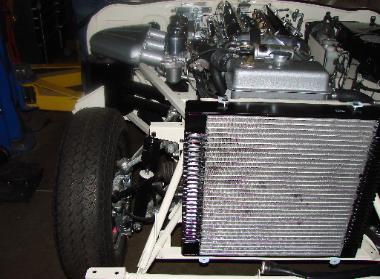
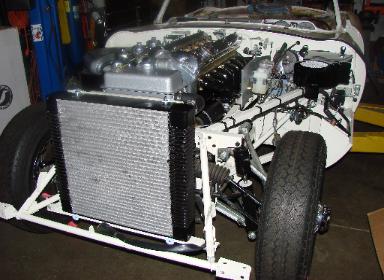
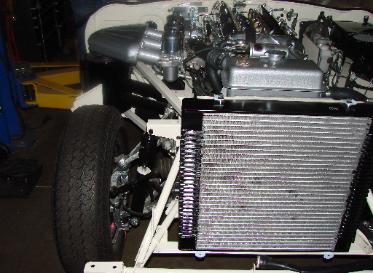
| The original radiator was saved/restored. Jeff had difficulty soldering the minor repairs it needed so I took it to Terry Brumley (best welder I ever met). Terry tested and determined that it had a very, very high magnesium content. For this reason repairs had to be done with epoxy. Holds 12lbs on the bench and will only carry a 4 pound cap so I think it can be trusted. |
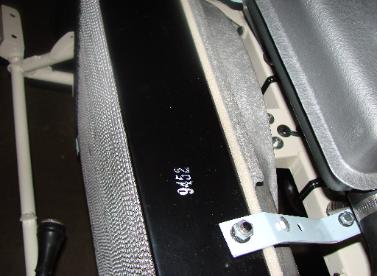
| For some reason the number 5492 was clearly paint stamped to the top of the radiator at the factory. A stencil of this was made. Then a new rubber stamp was made and used to replicate it on the original radiator. In the photo on the left I laid out the original felt that was between the radiator and fan surround. It was white/clear, not black as you would expect so we found some that matched and installed it. I was able to inspect a very correct, original paint 1962 series one last year and it also had white foam. |

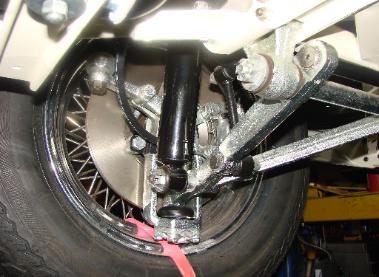
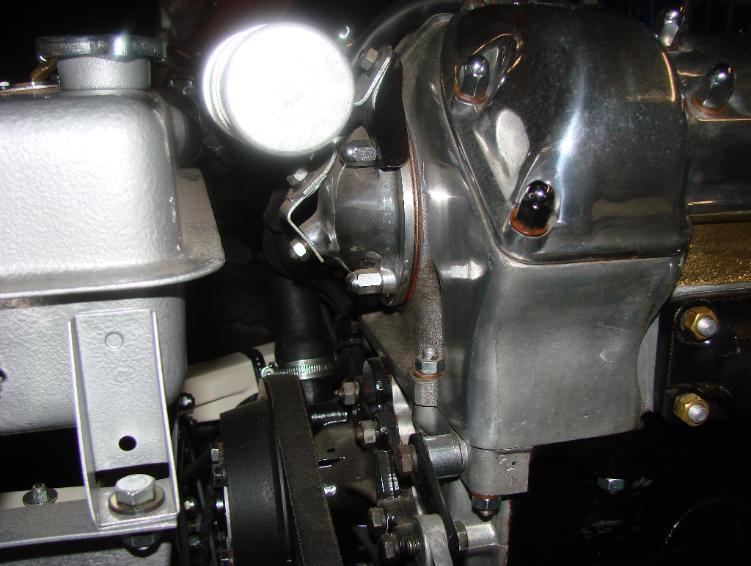
| Hard to show in the pics but to the left is the bottom of the oil pan. Faded, but you can make out where the chassis number was written here on the engine (presumably during assembly) in the same grease pencil used elsewhere. Jeff replicated the grease markings where we had to remove them to paint. However we just carefully cleaned around the original marks when working on the pan. On the balancer pictured on the right the little marks at 7 o'clock reads "comp". I know most all Jags have this but the separate timing mark for competition is a neat touch. |
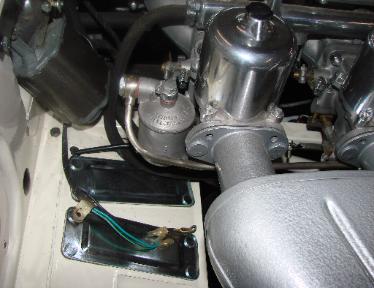
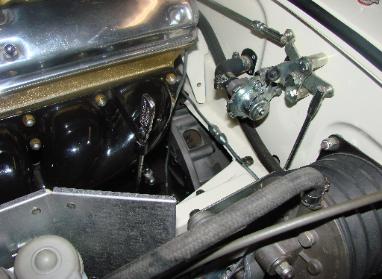
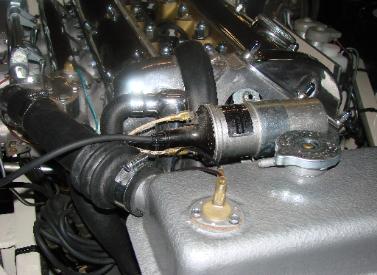
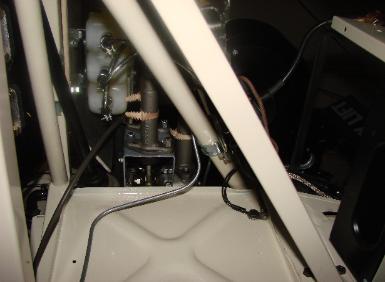
| The replacement heater control valve I purchased from XKs was very close to the original but had different numbers and markings. Here's the trick though......the internals were so close that it was possible to install the guts from the new one in the original housing after it was restored. |
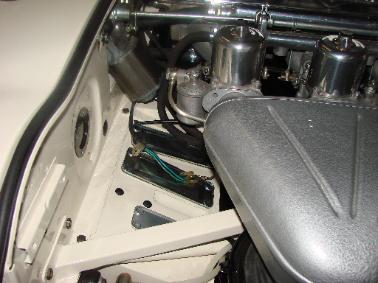
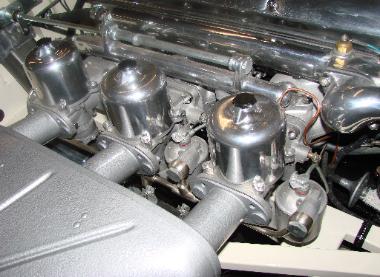
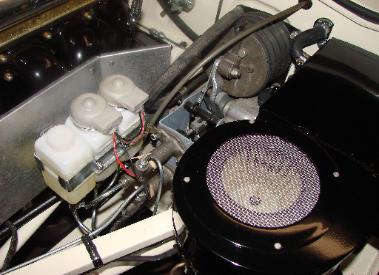
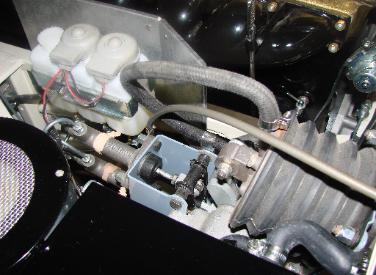
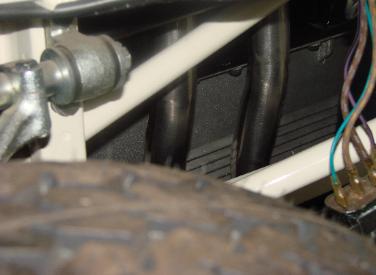
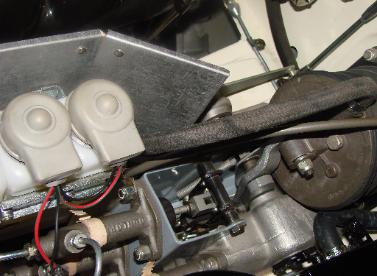
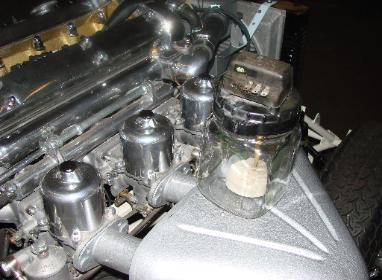
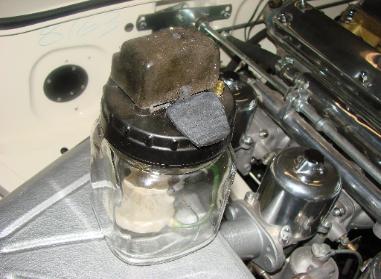
| The original hydraulic fluid bottles were to discolored to re-use, and the asbestos on the back of the original heat shield was coming apart so these items had to be purchased new. The original bottle top caps, wiring, and boots cleaned up to new condition. Luckily all of the little plastic tags and metal bands like the one pictured on the cylinders above and then below left were intact and in good condition so that they could be re-installed. |
| Note the yellow stripe on the hoses coming out of the brake and clutch fluid bottles. The original hoses, and remember this was a <10,000 mile original car when we started, had these stripes. Hose like this could not be found so the stripes were added to the new replacement hose. |
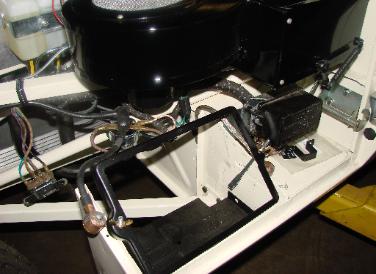
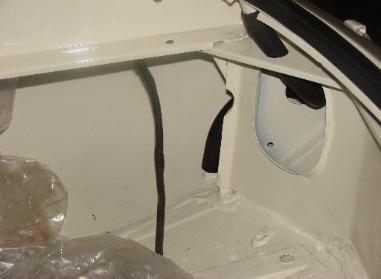
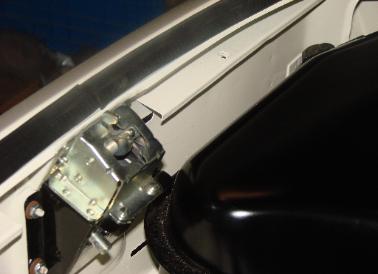
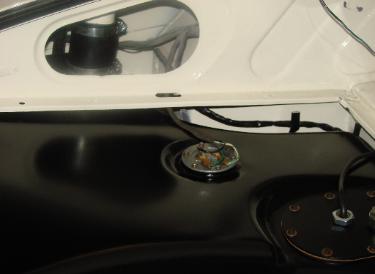
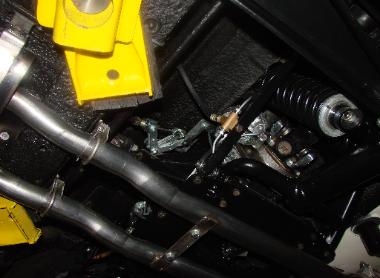
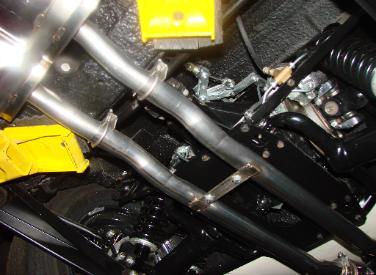
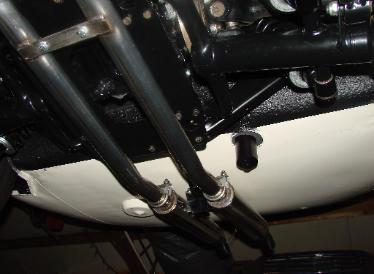
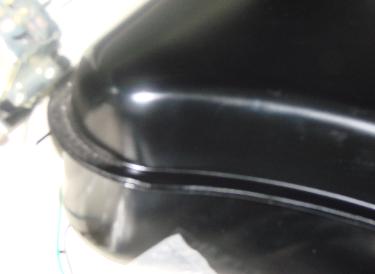
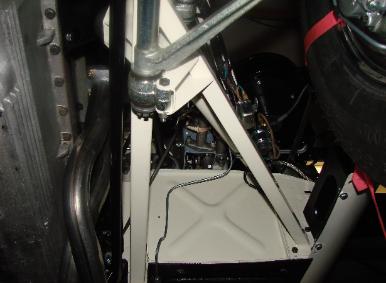
| The gas tank is now re-installed on it's new pad, with it's new pump and pickup, hoses and ect. The fill tube uses to of the biggest Cheney clamps I have ever seen. I commented on page one that I had cleaned, had acid dipped, and then teflon coated the tank, which I had done. However 11 months later when it was pulled from the shelf to reinstall, the coating so carefully applied to the inside of the tank had cracked everywhere and begun to pull loose. When I called the vendor EastWood, their tech department informed me that this material had only a one year life, and that tanks treated this way would require a re-do every 12 months. Because I have had good luck in the past, with even less careful prep, I have to believe there has been a change in the formulation. The deteriorating coating required only a WHOLE Saturday and 10 GALLONS of acetone to correct so needless to say.......I will not try this again !! Tank had to be re-cleaned, and replated, and then of course Jeff's pretty paint work was ruined and had to be redone. |
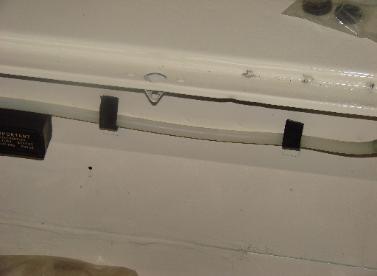
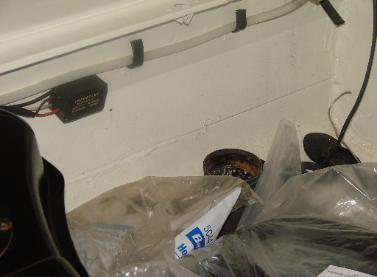
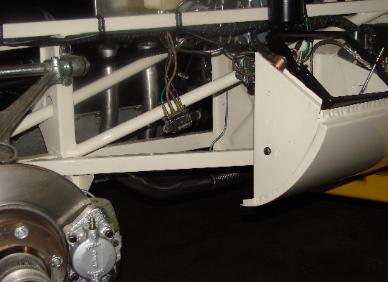
| Pleasant surprise. All of the little tabs carrying the new fuel line and the electrical box cover in the trunk cleaned up to new condition. |
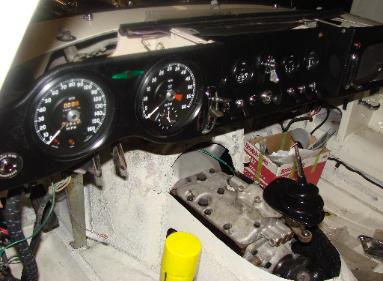
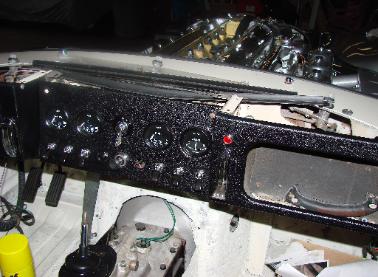
| While waiting for other needed parts to return Jeff started work on the gauge panel. Bezels are being re-painted, gauges being disassembled, and dusted, glass and plastic repolished. While the location of this cars 40 years of storage was not perfect, it was at least dark, and the gauges and original dash covering appear new after this work. I am very excited that all of the "phenolic" (sp?) handles and switches and slides are in excellent condition and we will not have to use plastic repro stuff. |
| Coil has a very specific date code so I am very glad it worked ! |
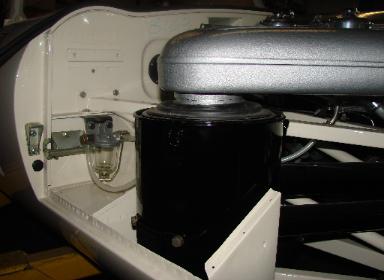
| The new washer bottle looks very good. The reproduction bracket it mounts in does not have the right rubber insulation so we are going to have to figure out how to correct that. Pictured is the original 3 wire bottle top which will also have to be restored as the reproduction top unit was, to my eye, not even close to the original. |